1. Step One
Start of by creating a WordPress account

Start of by creating a WordPress account

The next step is to create a menu page. To do this you first of all.

This was the header I decided to make for this site.
Step 1. Pick dimensions in photoshop which is 960 by 2650 pixel
Step 2, Draw a sketch so you can get a clear idea of what you want to make
step 3. When finished try to get as close to the sketch as you can even if you arent able to get it perfect

Step 4. Make sure to rename every layer to make it easier to make adjustments to it.

There are a few ways you can make the motion graphics on Photoshop. The way I did it were through these simple steps.
Step 1. Make sure that the Image in task 3 is complete and make sure that each part of the pictures is on its on separate layer.
Step 2. Click windows on the top of the screen
Step 3 scroll down to Timeline.

Step 4. You will see a new box pop up called timeline and you can see all your layers on a timeline
Step 5. From here you are able to do a lot of crafty animations and cut them to exactly how long you want to be.
For this task we had to create Motion graphics using Photoshop and Adobe premiere.
Step 1. Open Photoshop.
step 2. Make sure you create a design that you want to apply motion graphics to.( Mine was football ping pong) and make sure every object is on separate layers so that it could be made into motion later.
Step 3. When you have your final image. Close up Photoshop. Open up Premiere and import the Photoshop and select individual layers.
Step 4. Drag all the layers onto the Premiere timeline and sort them out.
Step 5. Right click scroll down then click on transform
Step 6. Then on the left hand side look for effect controls
step 7. click on the little clock on position this sets the key frame in lock for every frame you want the motion for.
Step 7. Keep changing position/ size etc for desired effect and there you have it.
A video of my own football ping pong is below.

Step 1. First thing i did was make my blueprint on Photoshop and made sure every object on the logo was on a separate layer on Photoshop.

Step 2. Illustrator works well with 3D IMAGES when sending them to Cinema4d so I moved the project to illustrator.
Step 3. Make sure the logo still has its own individual layers . (This will come in handy for when you’re doing your 3D.

Step 4. Once your done save the project and open it up in Cinema4d. (Make sure that the logo has no colour on it as you will be able to edit this in Cinema4D .
Step 5. The key to getting used to Cinema 4D is to mess about with the program. The 2 balls at the bottom represents the colours you decide to you use. 2 Different balls for the different layers. Circle arrows also allow you to go all around the 3D image or to change the position of the image from a 3D stand point

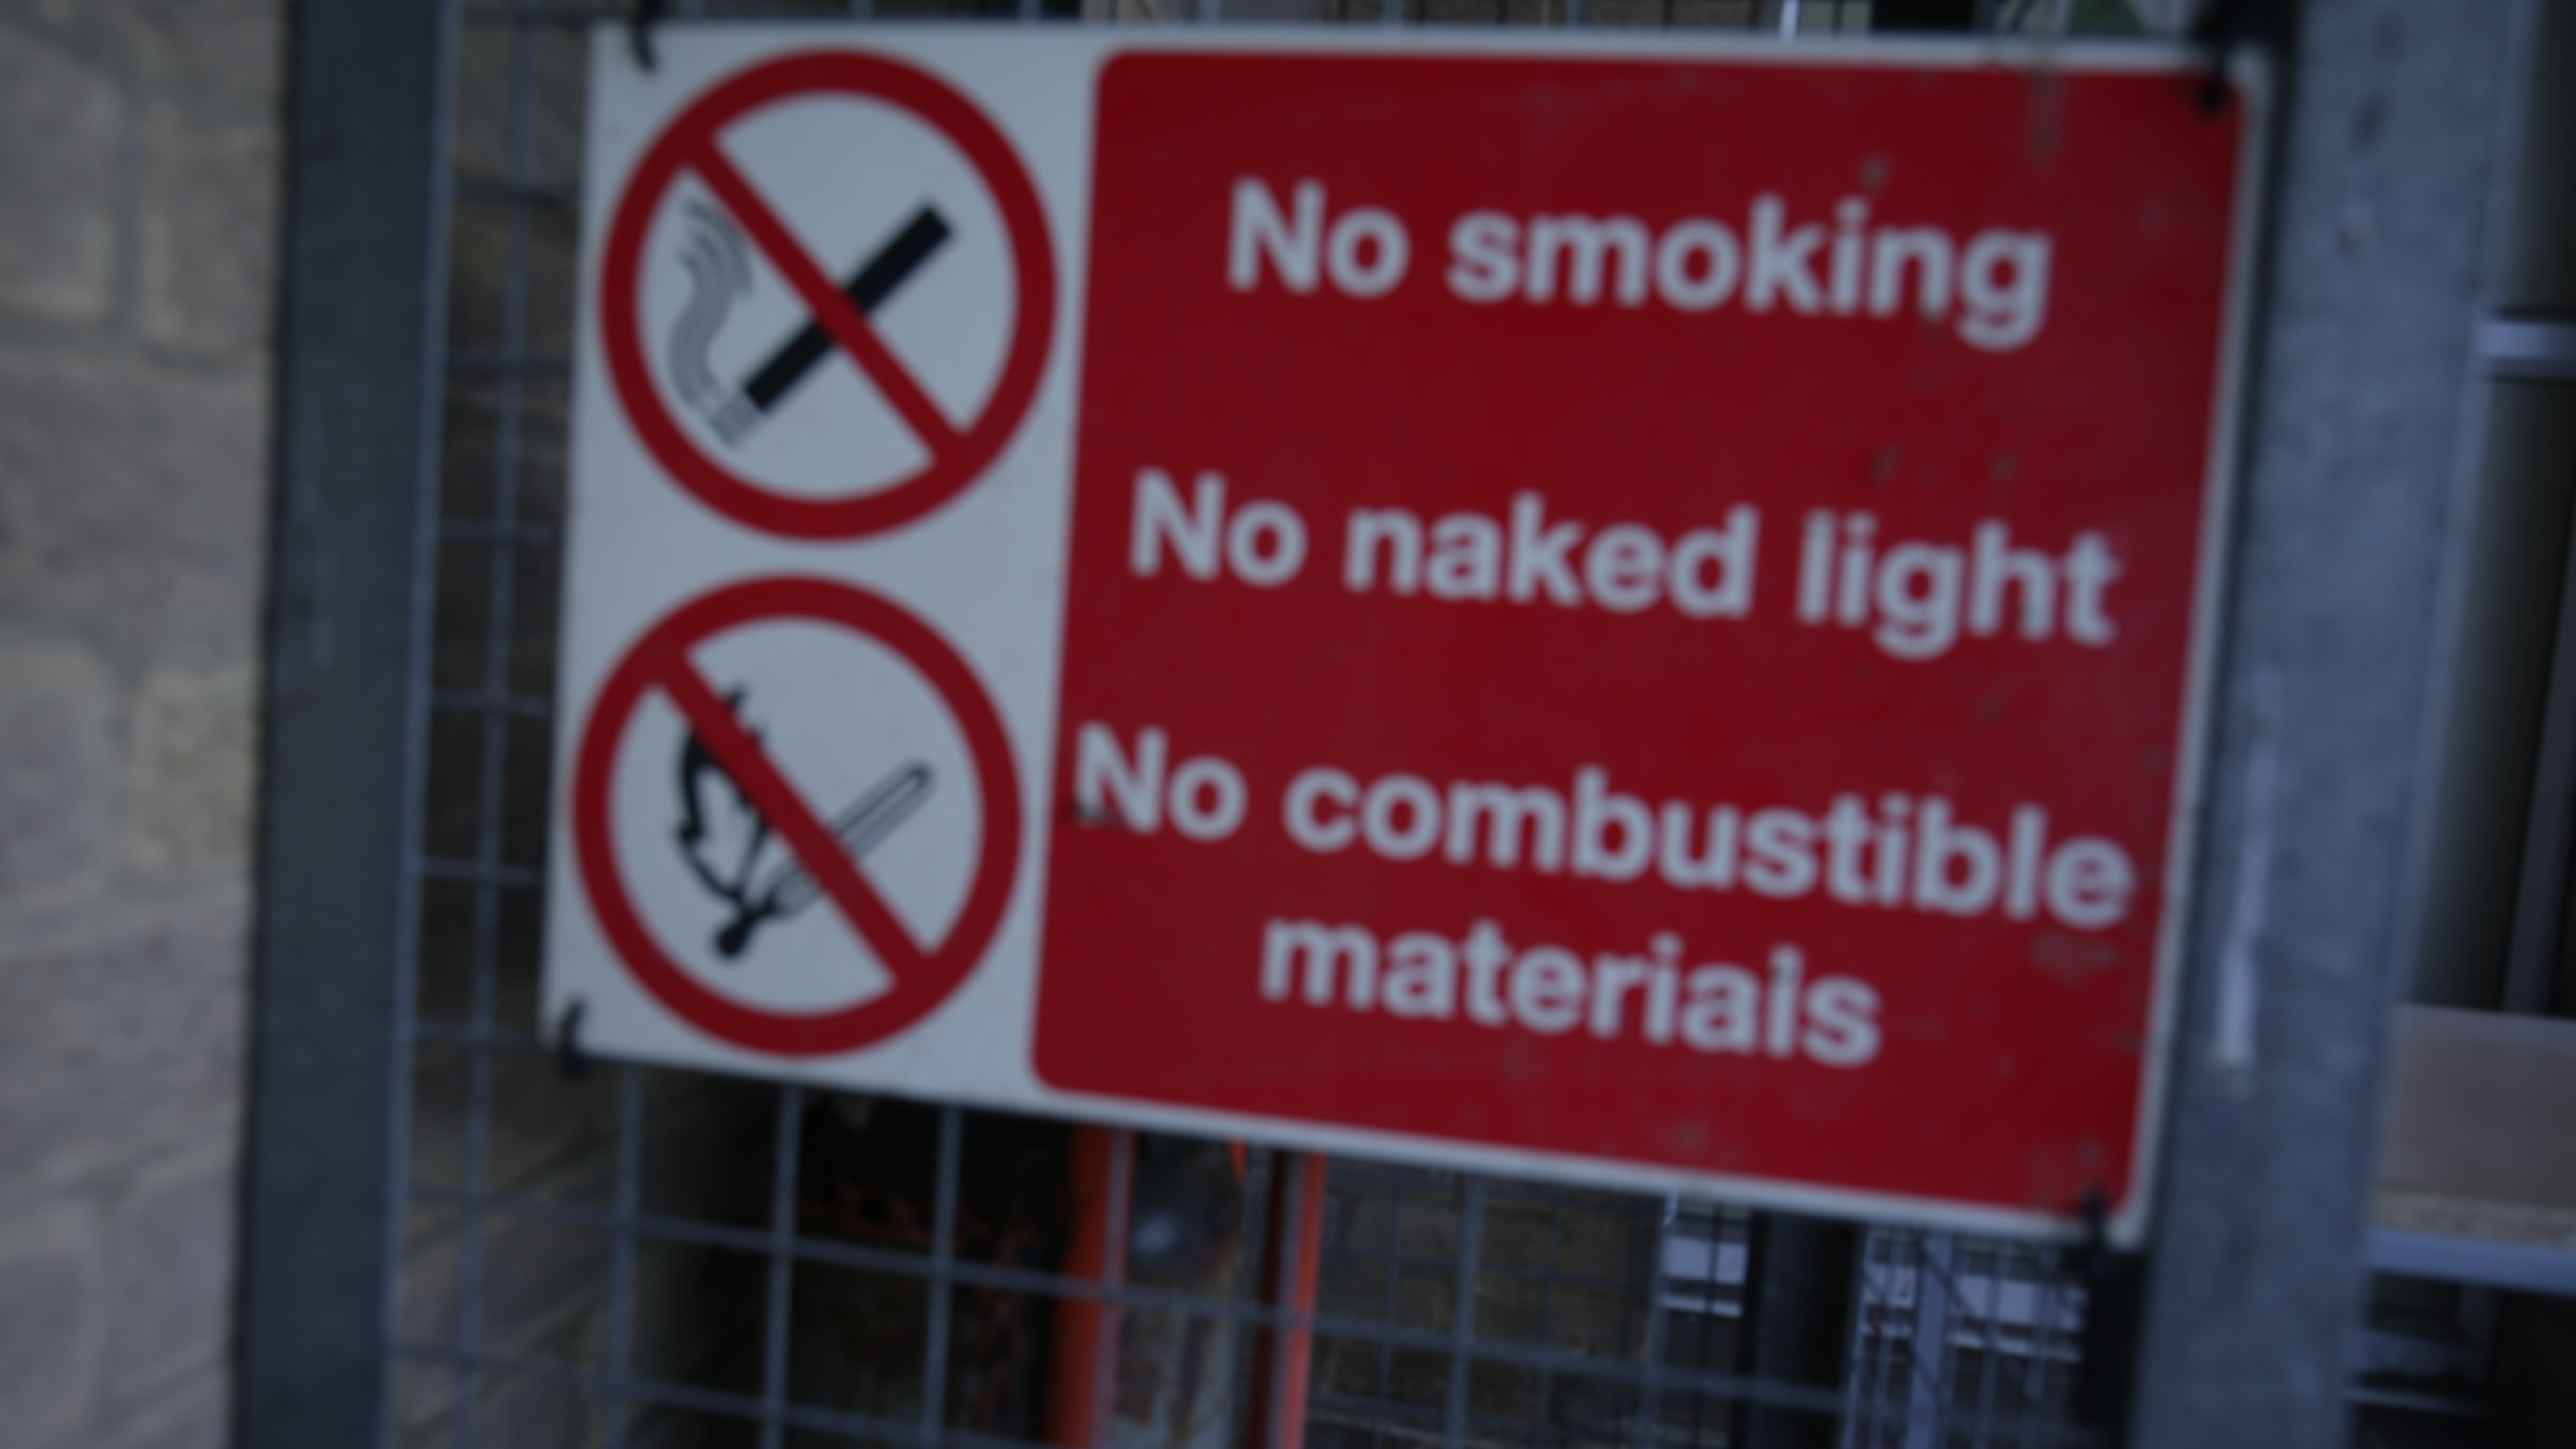
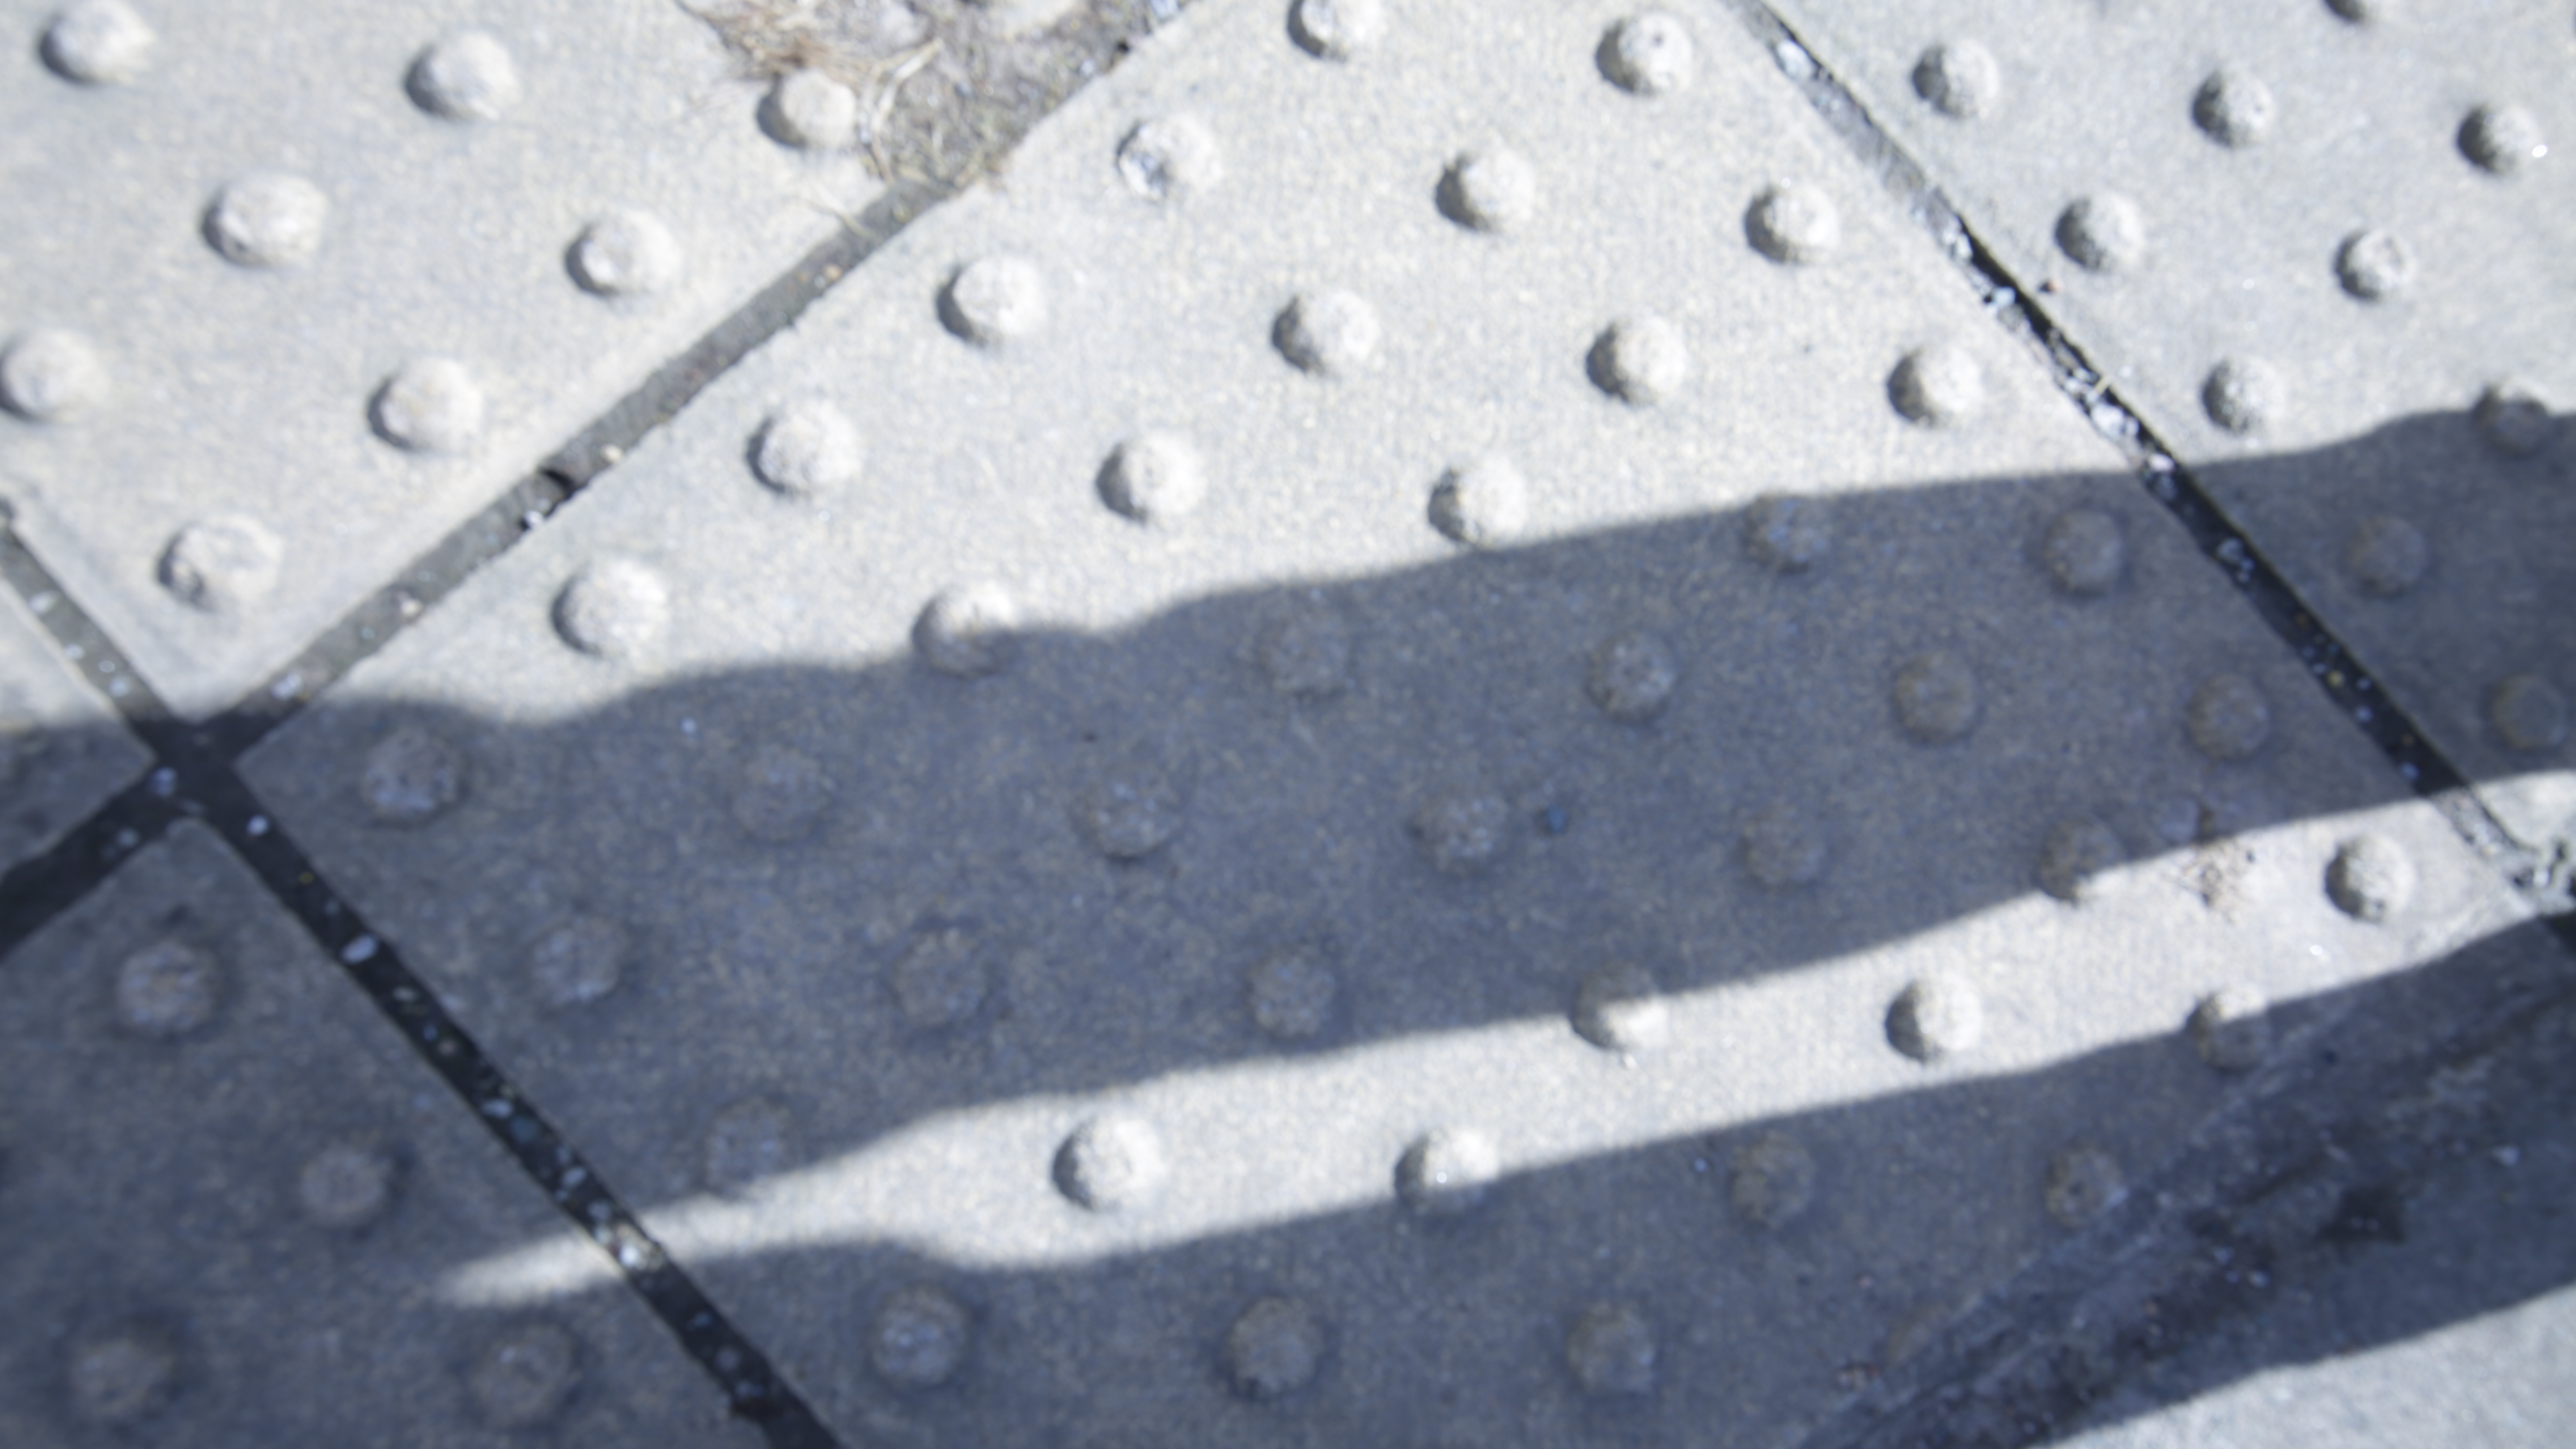
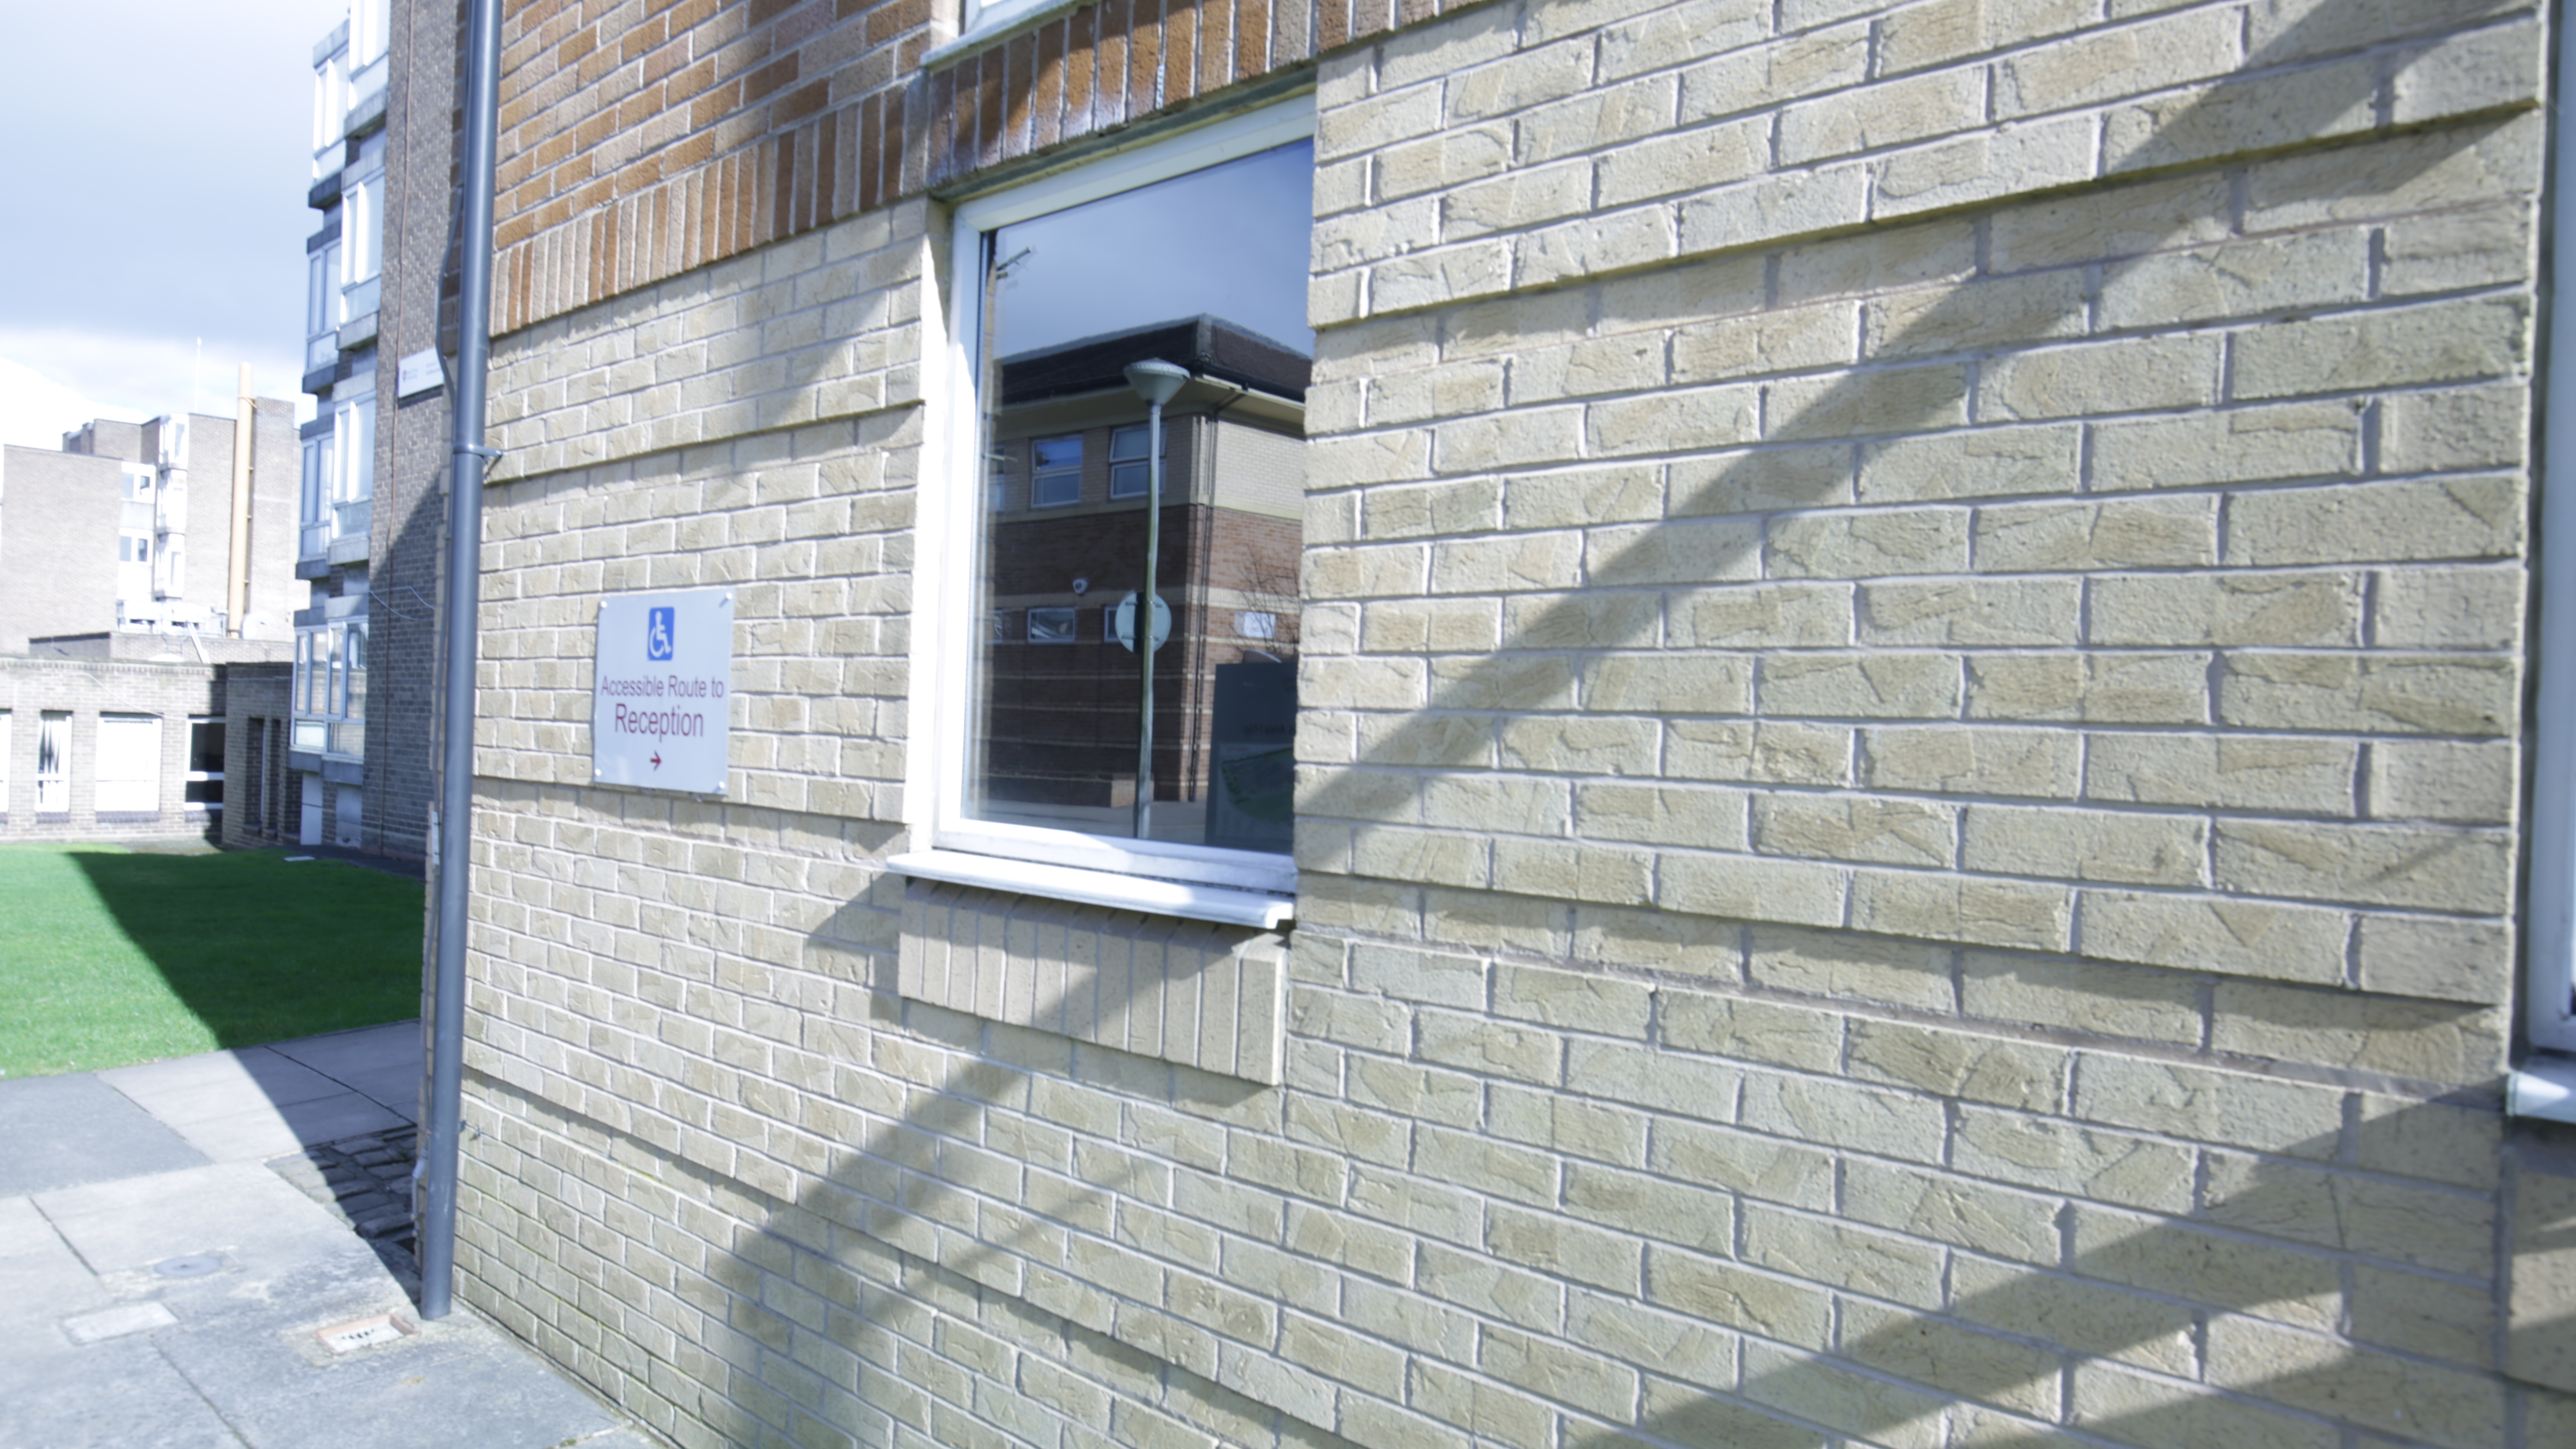
For this task we had to follow a certain route given to us on Moodle and follow it and take roughly 100 pictures consisting of shape, reflection, close ups, landscape, detailed texture, reverse world.


These are my 4 best photos that i took and they stood out to me compared to the rest because they were all just extra photos compared to the ones i actually wanted to use, but then going through them again i realised that these were actually the 4 best photos.The only one that i had to edit digitally on Photoshop was the ‘shape photo as the lighting became an issue on the original photo. I ended having to slightly change the landscape photo aswell as the originals were just too dull as the lighting was bad when i was taking the photo and it was on the verge of raining so i had to edit a lot of things such as the vibrance, hue/saturation, colour balance and brightness/contrast.


The task was to make a design concept based of a quote of 10. My quote was one made by Martin Luther King. I chose it
Step 1. In order to make this you definitely need to start of with a sketch . I’d advice a minimum number of 2 drafts.
Step 2. Remember that your sketch will never completely look like what you end up with
Step 3. Hold “CTRL+R” to get rulers out as you will want every to be lined up perfectly
Step 4. Have all the pictures/ objects ready to use and be ready to scale, invert, and transform pictures to make sure they 100% fit the picture ( the globe in the background of the image has had its opacity decreased.
Step 5. Once you are satisfied with what you’ve made export the photo as a png file.